Building A Lean To Shed | Framing and Siding | Part 1
- Outdoor DIY Projects
- April Wilkerson
- Updated: March 8, 2023
Thinking about building your own lean to shed? Check out part 1 of this DIY project where I framed it up, and installed all of the siding for this new shed!
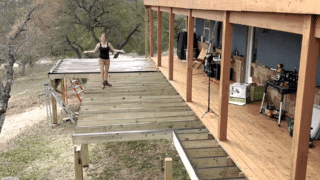
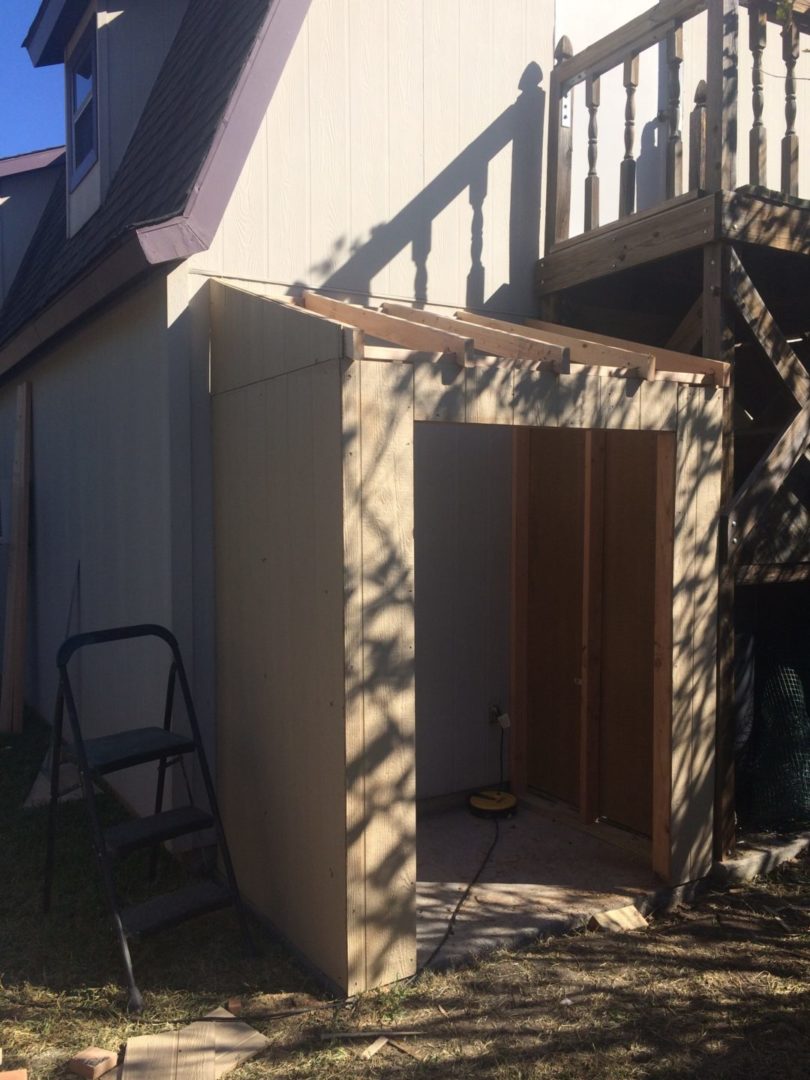
This week I set out to build a lean to! It’s my first time attempting a building of any sort, but the process went pretty smoothly. I will be selling plans once I complete the building so stay tuned for that if you are interested. This week I was rushing to get as much done as possible before a big storm system moved in, and I was able to get all three walls built and attached, plus the roof framed. Check out the tutorial on the process below.

I went ahead and set up a temporary station so I could bring my mitersaw out. This made cutting all my 2x4s a lot quicker, but you could also cut them using a circular saw. I started off by first cutting some treated 2x4s to make up the bottom plates. You’ll want to use treated lumber here since they are in contact with the slab but I used untreated wood for the rest of the building.


I built the left and right section of the front wall first. I placed a king stud (a stud that goes all the way from the bottom plate to the top) on the corner, then a second king along with a Jack stud (a stud that goes from the bottom plate to the header). I connected the left and right sections by cutting and nailing on a sill plate. Note: I went ahead and invested in a framing nailer because I have a few projects I’ll be needing it for. If you don’t have one you can always use the old fashion way….a hammer. ; ) With that portion of the wall done, I started building the header. Now since I’m using 2x4s for my wall studs I need to build up my header to be 2 1/2″ so I used two 2x4s with some scrap 1/2″ material sandwiched in between. To hold it all together I screwed in eight screws on each side.
I set the header on top of the jack studs then nailed the jack studs to the king studs. I also nailed the header to the jack studs. To do this you’ll have to toenail in the nail, so if you are using a nailer, tilt the nailer so that the nail will shoot in diagonally. Note: Be mindful of your other nail placement and try not to hit them. Last thing to do on this front wall is to add the cripple studs, which are those two short pieces above the header. I cut them to length then nailed them in from the top and toenailed them in on the bottom. Now I repeated the process to make the two side walls. I would cut all the studs to length then nail on the bottom and sill plate (again with a treated 2×4 as the bottom). Now on my slab, there is a slight offset where the slab goes past the edge of the barn. At first, I nailed the back king stud flush with the bottom plate but this made the wall not fit into place. So instead I measured this offset then moved the bottom of the stud in so that it would be flush with the siding. I set the wall in place then nailed on the sill plate. I repeated the steps to make a matching wall on the other side.
To attach these walls to the concrete slab you’ll need some hardware called wedge anchors. I used two anchors per wall and I started with the front then attached the sides. First I used a regular drill bit to make a hole in the bottom plate, but then I switched to using a masonry bit to make the matching hole in the concrete. Once the hole was deep enough, I cleaned it out really good then hammered in a wedge anchor.


A few notes on this step: You’ll need to use a hammer drill to get a nice clean hole. I was going to rent one but then I remembered my Triton drill actually has a hammer drill setting so that’s what I used. Then before you hammer in wedge anchor, be sure to put on the washer and nut so you don’t tear up the threads. Hammer it into place then use a drill with a socket attachment to tighten it down. Once the walls were attached to the slab, I started attaching them to each other. I went through and just shot in a few nailed all along the length of the overlapping studs. To attach it to the building, I did the same with the back stud. Note: Use a level to make sure it’s plumb. Ok now time to start on the roof: I cut a board to length then used a tape measure to make sure the ends lined up with the sides of the lean to. I started by placing one nail in the center of the board (to create a pivoting point) then set a level on top to adjust it until it was level. Once I was happy with it, I shot in a few more nails where the studs of the building are. For the rafters I cheated and held the board in place then just traced out the angles that the ends needed to be cut. However, if you want to do it the proper way there are several videos out there explaining how to do that.
I used my circular saw (you could also use a jigsaw or bandsaw) to make the two cuts then used my first board as a template to trace out my other four.


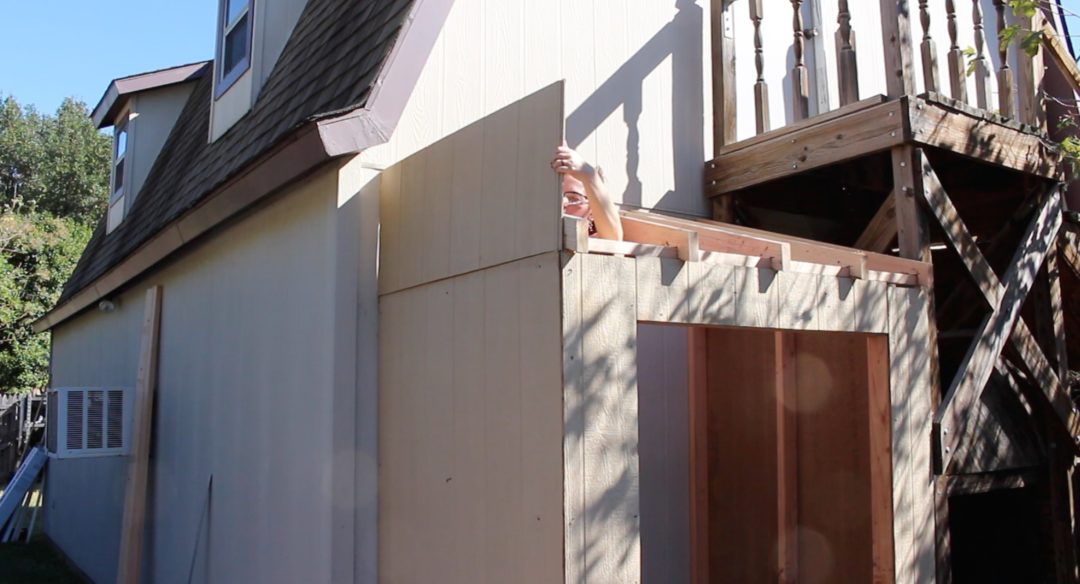
To attach them I would first put two nails straight into the back, then move to the front and put in three more (two on one side and one on the other). Note: Placing the first board is easy, it’s flush with the sides, but to place the others use a tape measure to make your marks on where it needs to go. Then just line the front and back up with those marks and nail it down. I went ahead and added a cripple studs on both sides of the roof just to give it more support. To nail this piece into place I drove in two nails from the bottom then toenailed one in from the inside of the lean to. Attaching the Siding:
This siding is a tan whereas my barn is more of a cream. However, a friend gave me four left over pieces last summer so that’s what I used instead of having to buy something. I do plan to paint it, so it wasn’t a big deal for me. This stuff is called masonite siding.

I would first measure my wall then use my circular saw to cut the siding to size. I started with the side walls then moved to the front. Note: If you are in the market for a circular saw, I really can’t recommend this one enough. It has a laser on it so making these long cuts is simple.
With the siding cut to size, I would hold it into place then nail it down.


These sheets come 4′ wide, so since the front of the lean to is wider than that, I had to cut sections then piece them together. I was ok with that because the trim work should make it look real nice in the end. I cheated again when it came time to cut these triangle pieces. I would hold my board in place then trace the angle of the cut. I also saved these until last so that I could use the scraps from the other cuts. : ) And that is as far as I got! I still have plenty to do but Texas is getting slammed with rain so I closed everything down before it got to me. I’ll see you when it passes over me and I’m able to get back out here and finish.
So far, not including the cost of the framing nailer I spent $117 in materials to build this. I don’t think that’s bad at all!
If you liked this project and want to stay up to date with what I’m building, then be sure to sign up for my email newsletter and you’ll get an email when I post something new. See you soon!
*Disclosure: Some links in this email are affiliate links meaning, I may get a commission if you make a purchase. Thanks for your support in this way!


