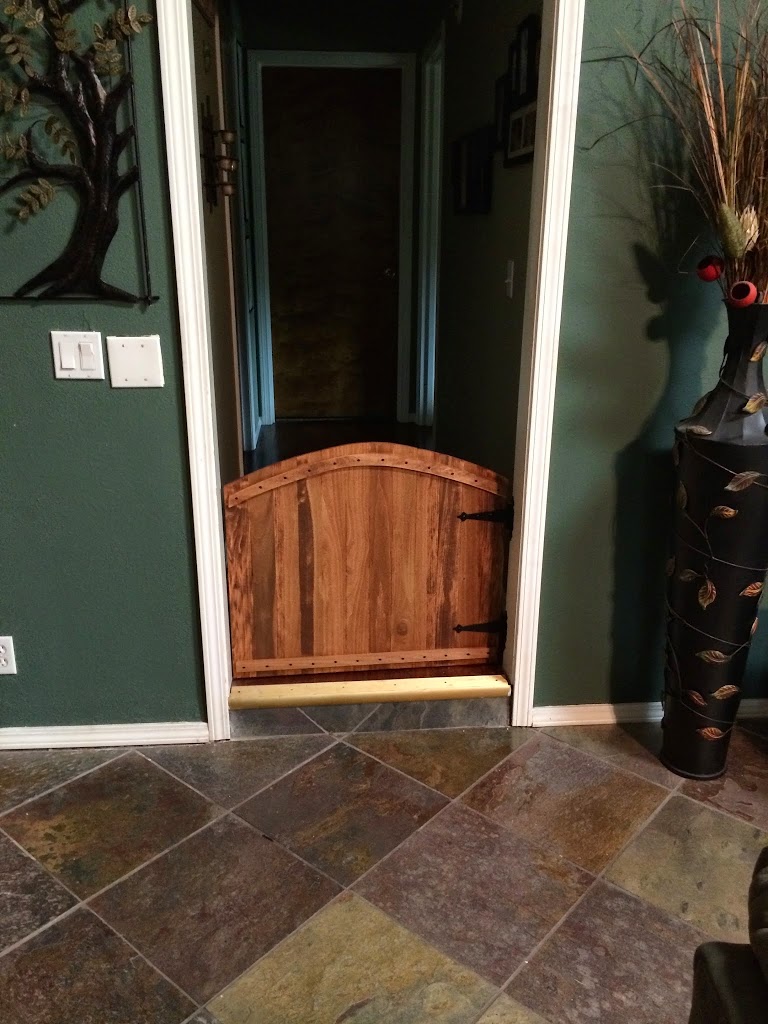
Cheap & Easy DIY Doggy Gate
- Pet DIY Projects
- April Wilkerson
- Updated: March 8, 2023
Thinking about building your own cheap DIY doggy gate? Check out this DIY project where I built a stylish doggy gate to keep my pups put!
A doggy gate has been on my to-do list for a while, so I finally blocked off some time to get it done.
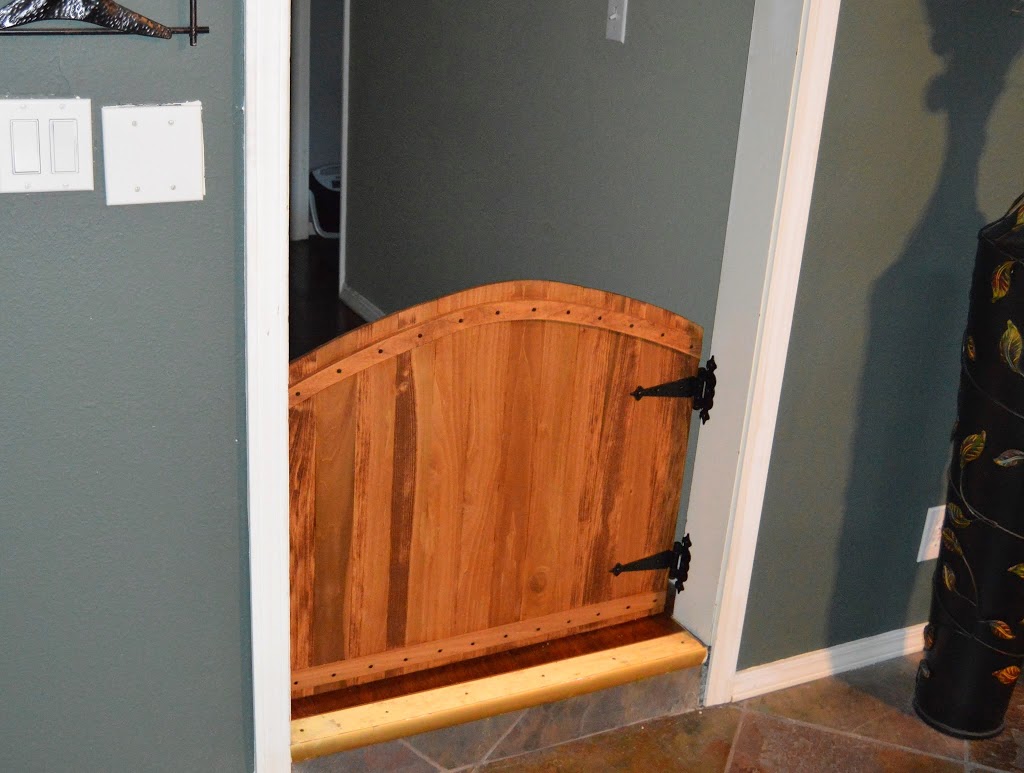
Keep in mind as you are reading through the tutorial, that this can also be a baby gate!
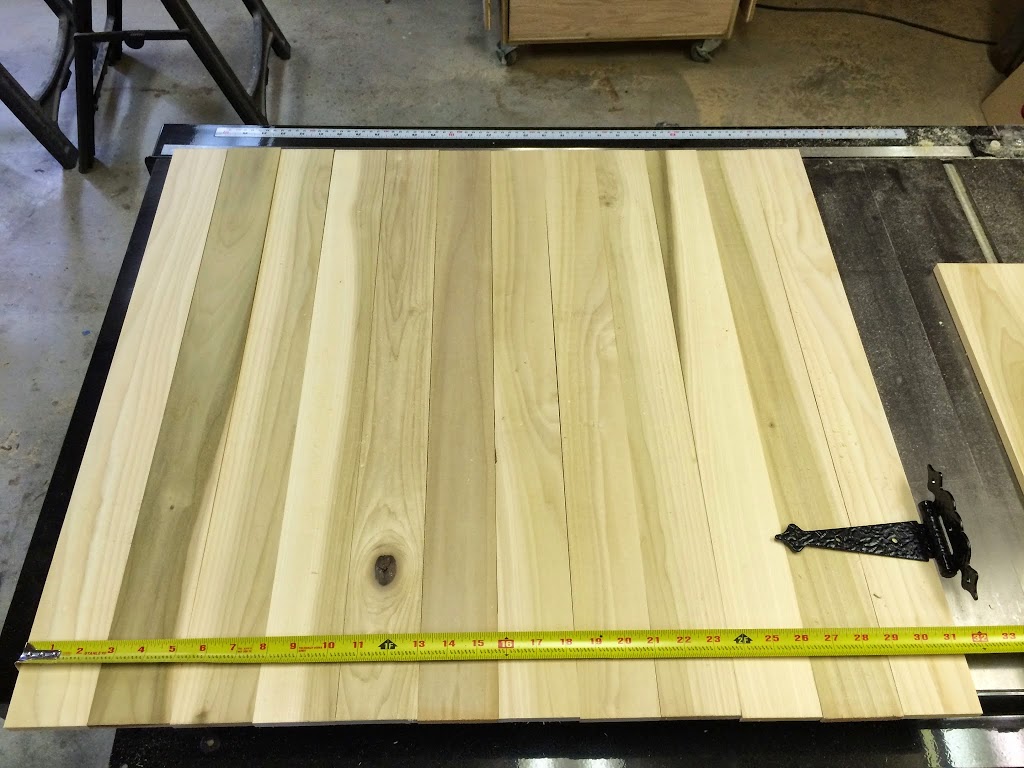
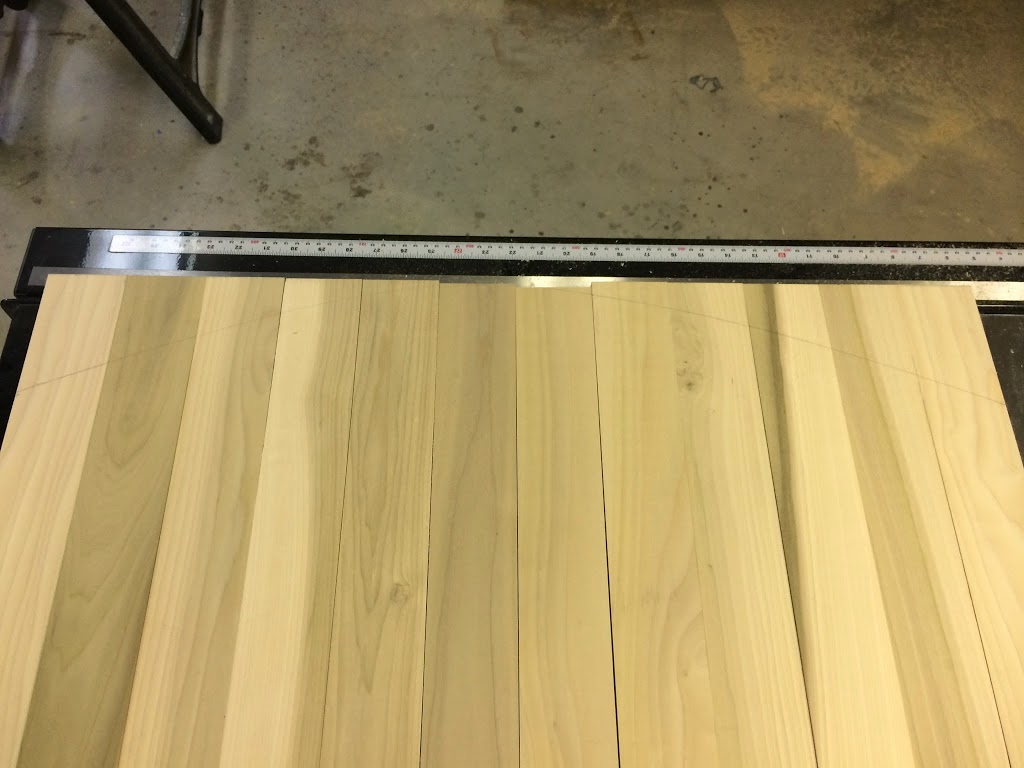

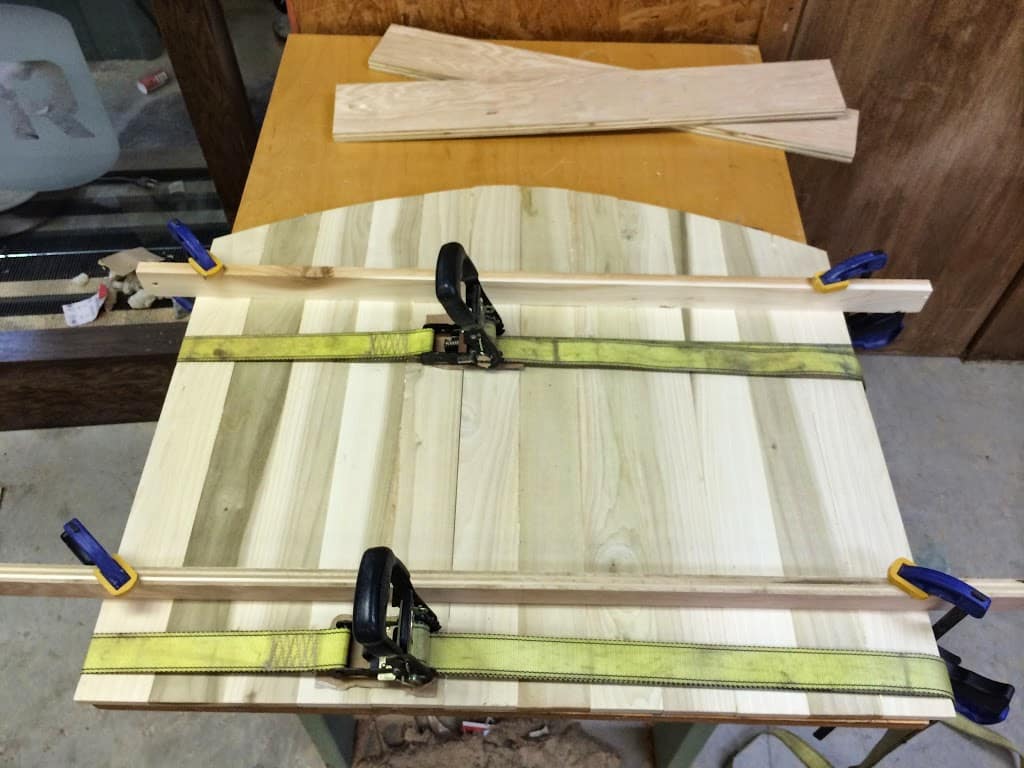
Note: It isn’t perfect at this point, but I wasn’t worried about it because I planned on floating in the arch to my liking, with the sander.
Now, I could have left the gate like this. Just glued it up and start staining. However, it was a little plain to me, so I decided to add a little more to it, just for aesthetics.
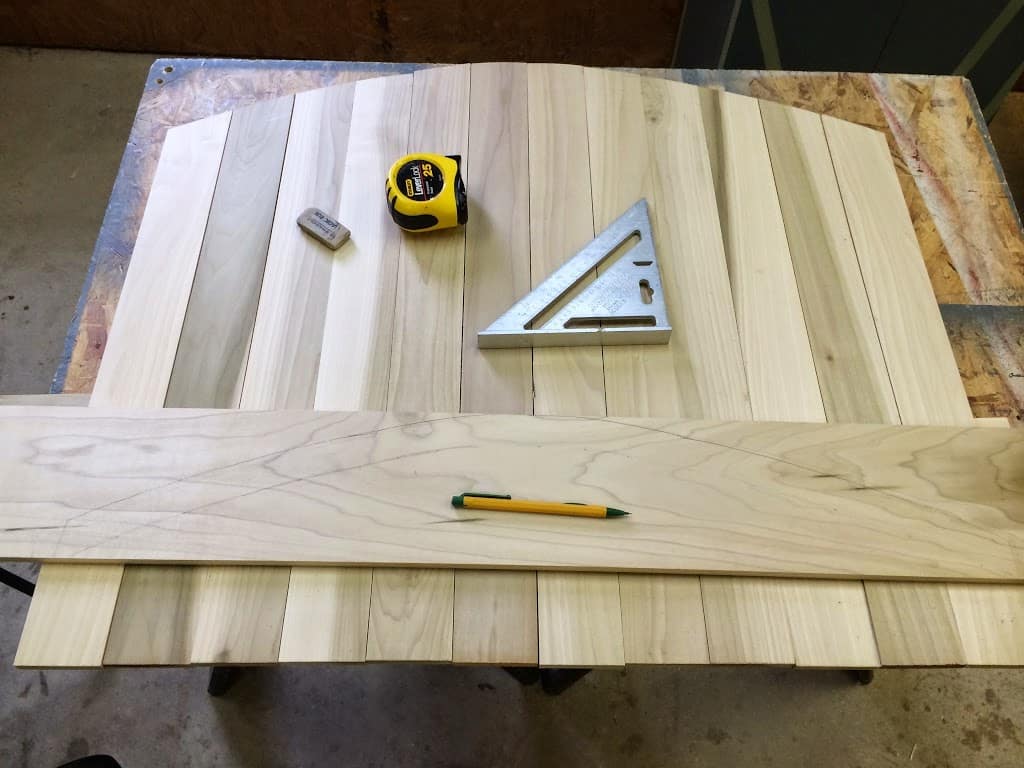
5) I placed another, uncut, board under the gate in order to transfer the arch of the gate to the board. This gave me my top curve. To get the bottom, I drew a straight line down on both ends of the curve, then took my tape measure and measured down 1 1/4″ and made lots of marks. Once I had marks from left to right (just randomly), I took my pencil and connected the dots. Note: Again, it doesn’t have to be perfect since the sander will shape it.
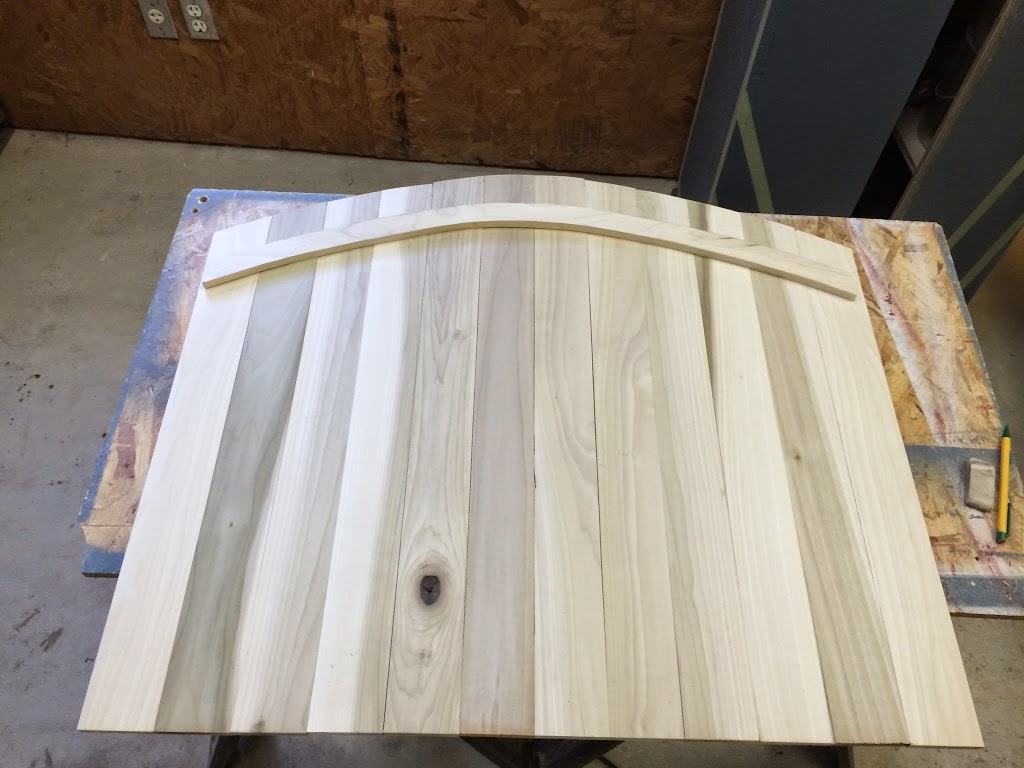
…can I just say, I am loving this wood. This is my first time to work with poplar, and I think it’s so lovely.
7) Then, since I made the top something decorative, I also made something for the bottom. The top arch is an 1 1/4″, so I cut an additional strip that is also 1 1/4″ to match.
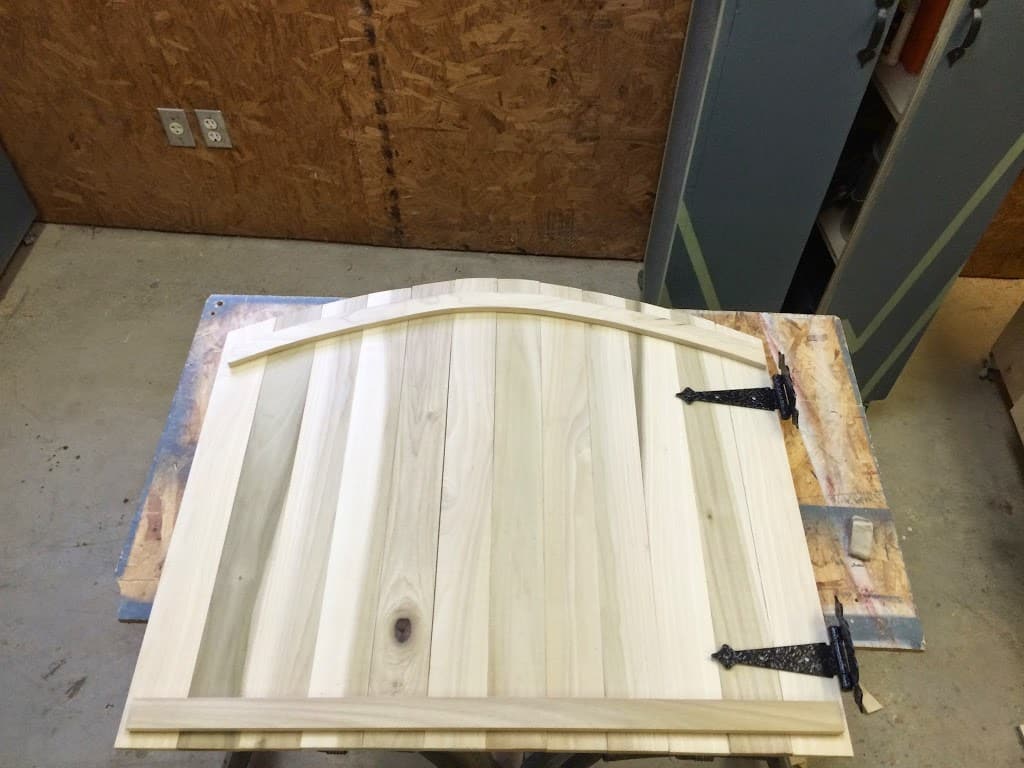
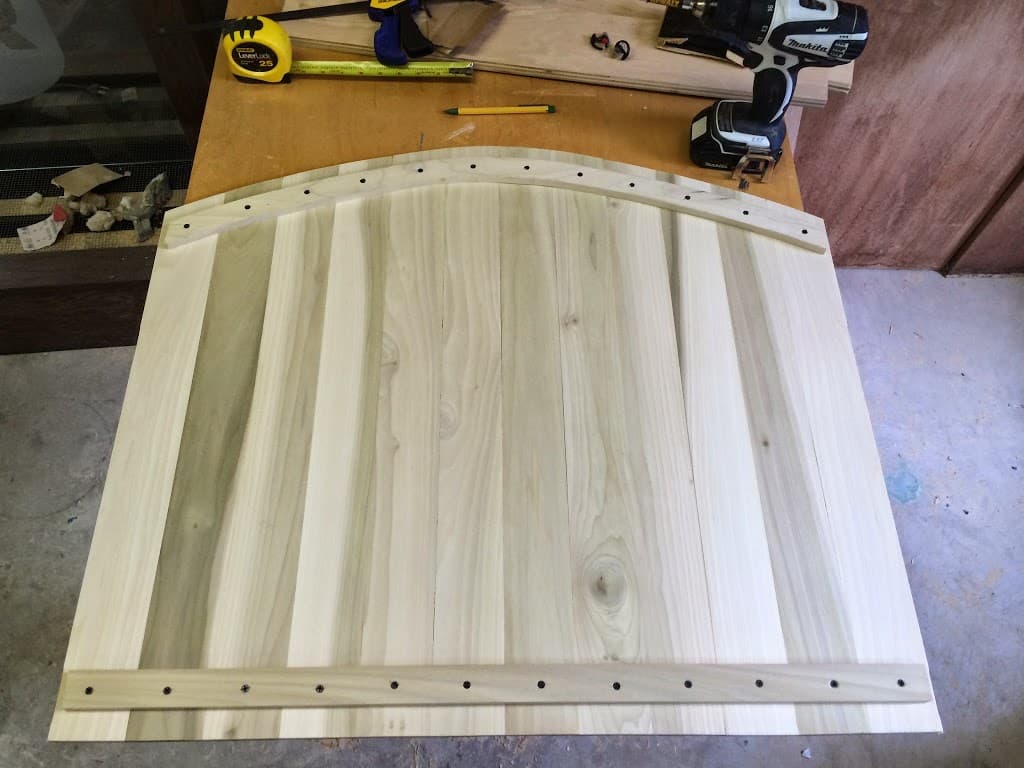
Note: Since I added these boards solely for a decorative purpose, I wanted the screws to match the hinges instead of being the machine finish. So I stuck all the screws in a trash piece of cardboard and gave the heads a painting before using them.
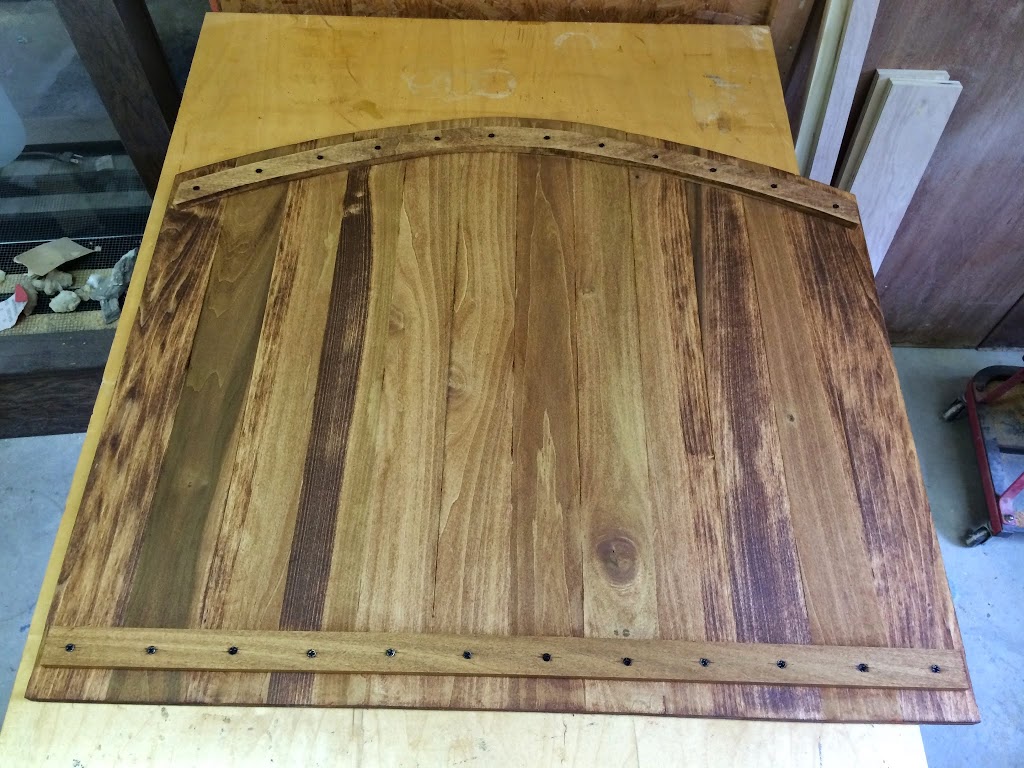
11) Next was staining. I first applied a coat of wood conditioning (it makes the stain come out more even). After letting it sit for five mins, I wiped it off then put on a coat of stain.
Note: I used the color Dark Walnut.

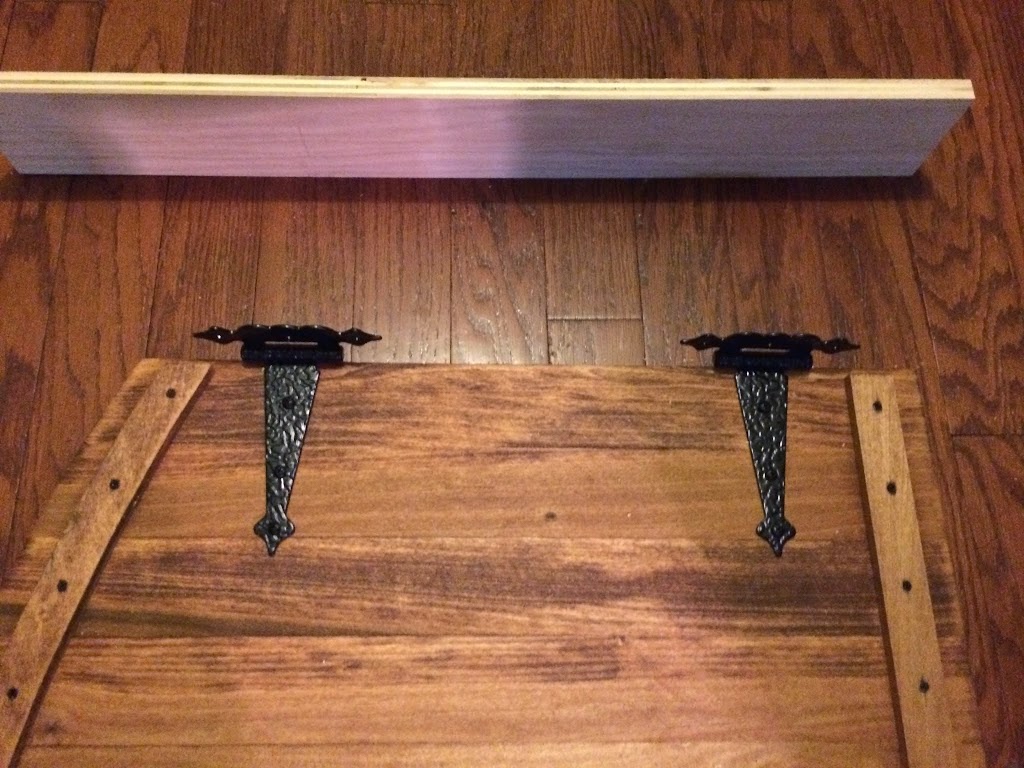
12) In order to mount the hinges without alignment issues. I went inside the house and laid the gate on the floor. Then laid the hinges where I wanted them and used a scrap piece of wood to butt up against the hinge part (it’s essentially standing in as my door jam). Then I used a pencil to mark where the holes lined up, and drilled a pilot hole (being careful to not go through the wood!), then came back with the screw.
13) To mount it to the door jam, I set the gate on a scrap 1/4″ piece of wood and opened the gate all the way. I adjusted the placement of the hinges on the door jam so the gate wasn’t colliding with the trim, then screwed in the remaining screws.
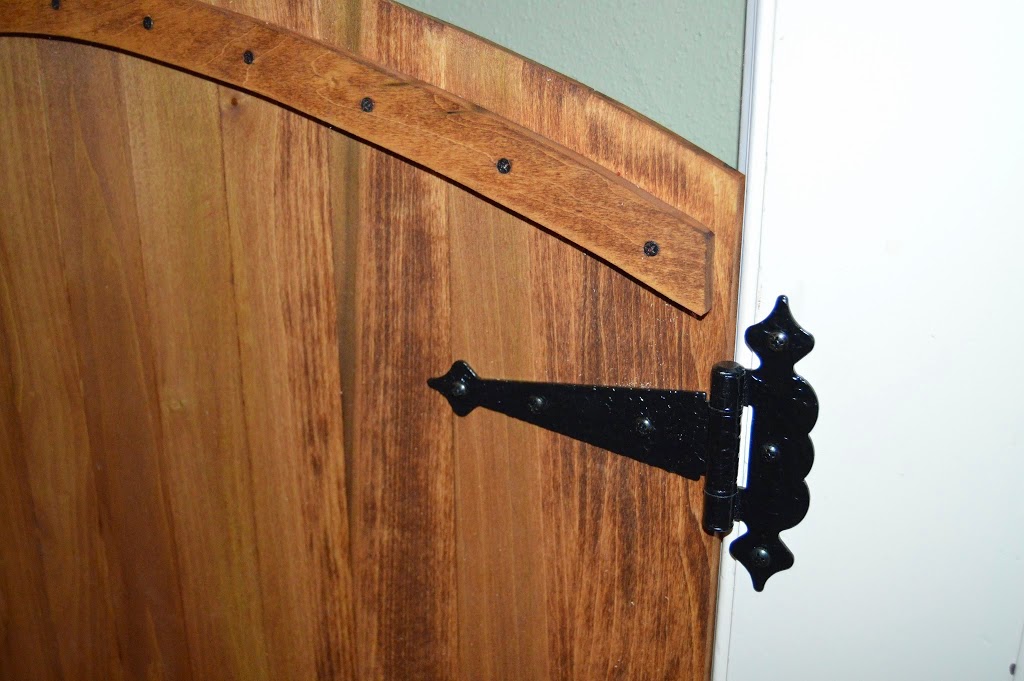
I tested it out, and everything works. : ) Yay.
14) Last thing to do was to figure out how to keep it closed. I didn’t want to put a normal gate latch because I didn’t want something poking out. So instead I grabbed a few power magnets from my husband’s stash and used them.
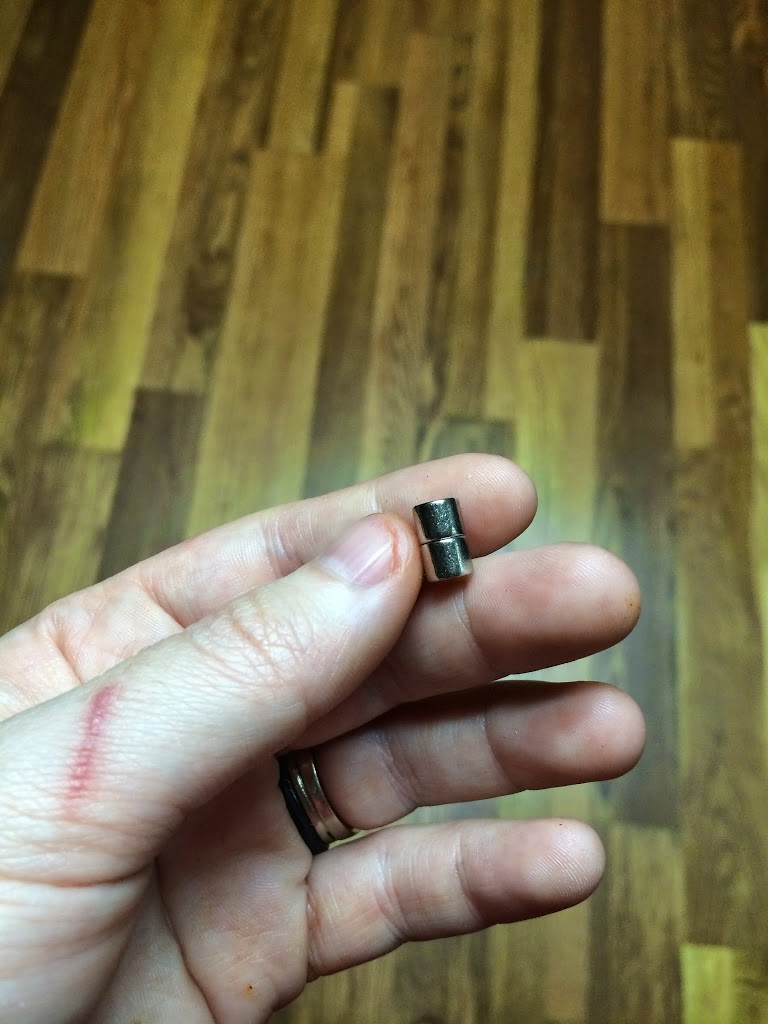
They were round 1/4″ magnets, so I grabbed a 1/4″ drill bit and drilled a shallow hole in the door jam until the magnet would sit flush. Once I had them in place (I ended up using three), I repeated the steps and put magnets on the edge of the gate.
Note: When I was testing the hole to see if it was deep enough, I would shove in the magnet, then use the spare magnets to get it out of there.
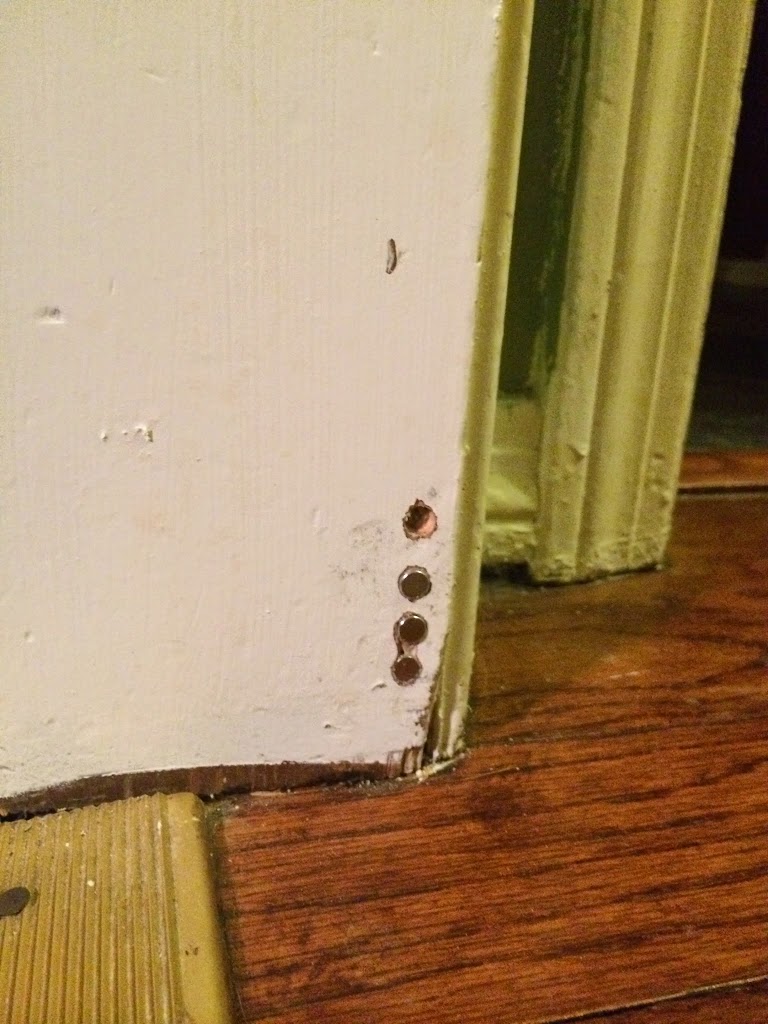
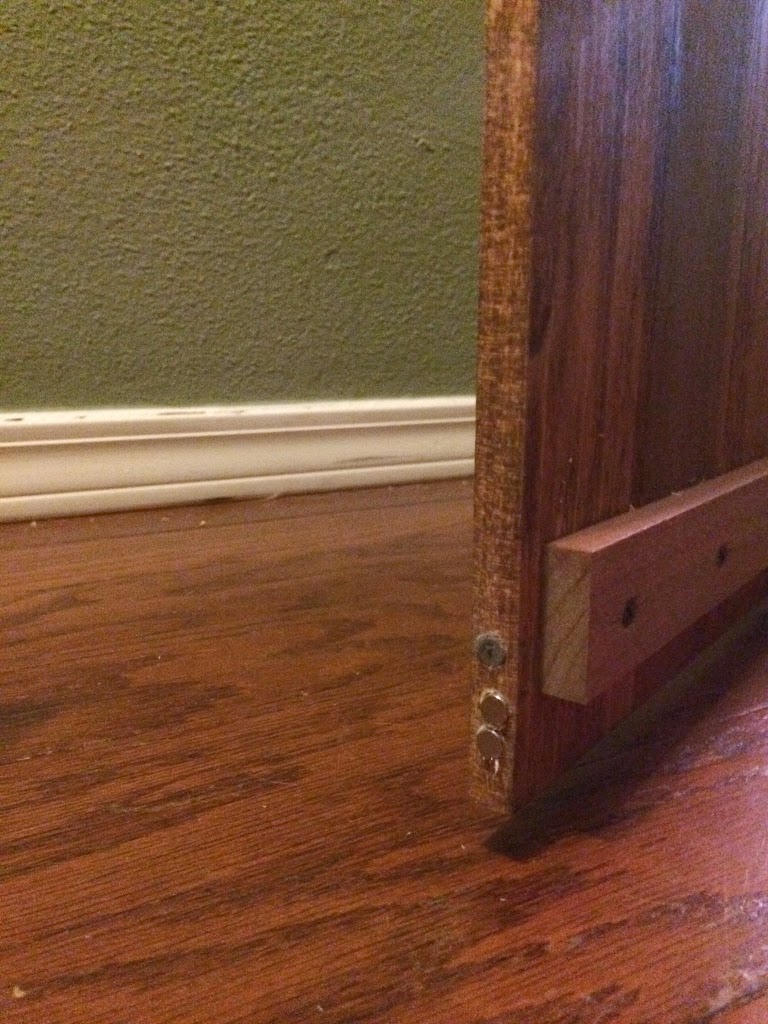
That first hole I drilled, landed me right on top of a nail so I’ll have to go back and fill that in. This whole door jam needs a fresh coat of paint anyways.
Now I have a way of closing off the back of the house from the pups. : )
