How To Build A Folding DIY Miter Saw Stand
- Workshop DIY Projects
- April Wilkerson
- Updated: March 8, 2023
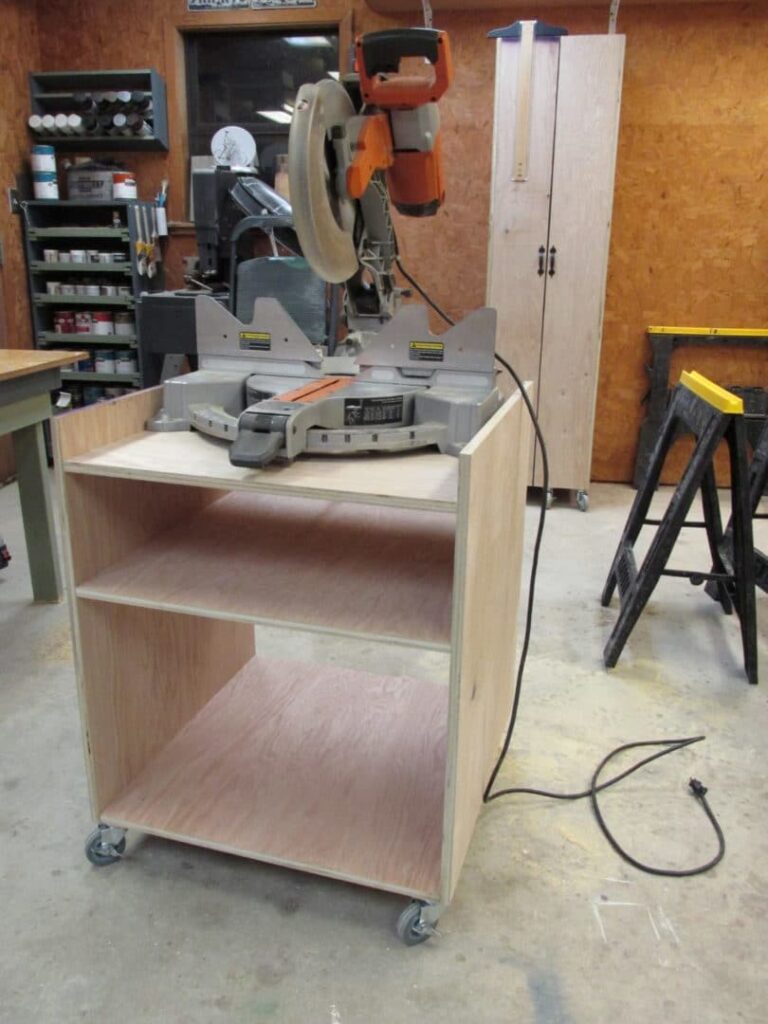
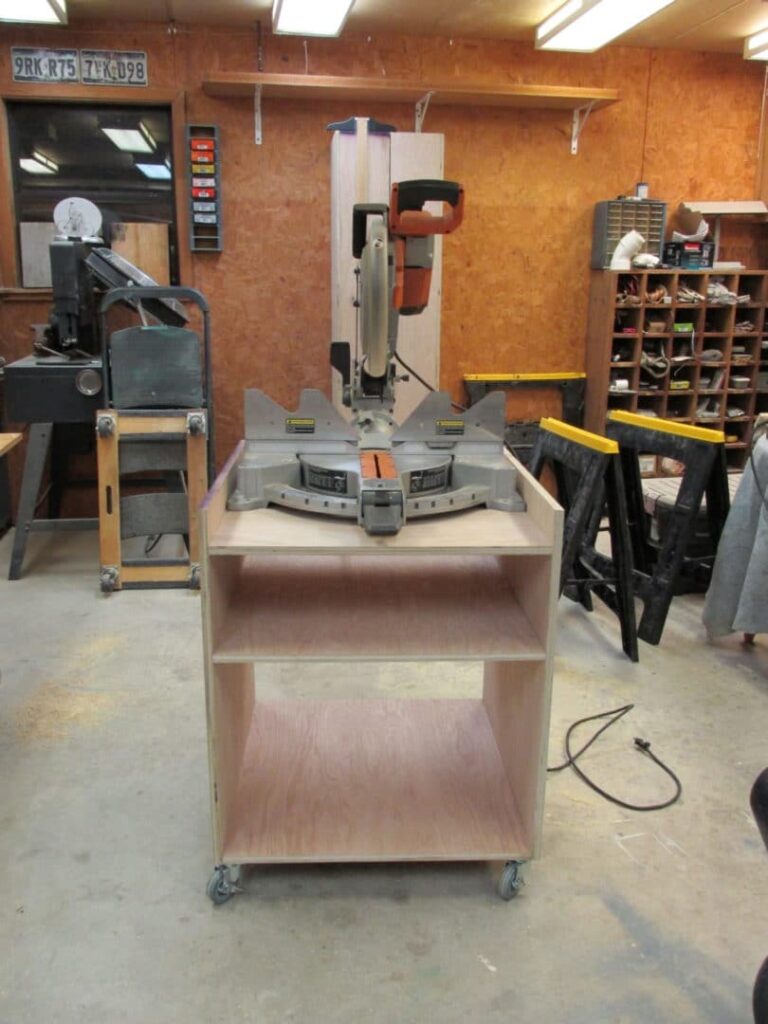
Thinking about building a DIY miter saw stand? Check out this DIY project where I show you how I built my own miter saw stand that’s mobile and folds!
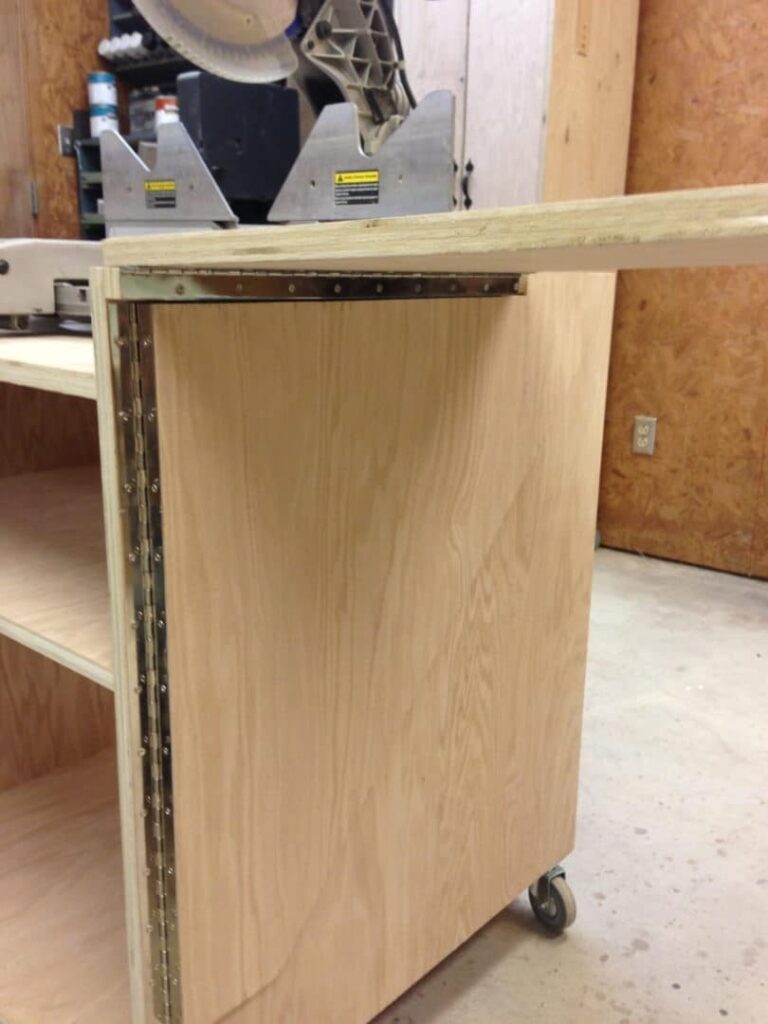
I finally recovered enough from the flu to get back in my shop and I immediately got started on making a miter saw stand. I was wanting something portable with folding wings so it would take up as little space as possible when not in use. So this has wings that can collapse down when not in use (or not needed) and extend up when they are. They are level with the surface of my miter saw deck so that when a piece of material is laid across it, it is level. It has an area for cut offs to go that I want to keep, and also a bin for cut offs that I want to trash.
I now have a set of plans available. If you would like to build your own Folding Miter Saw Stand, then click the link. The plans are 8 pages long that include a shopping list as well as a cut list.


: D I must say….I’m pretty pleased.
A while back, a friend asked me to refinish a table for her….well short end of the story is I finished the table but it’s still hanging around my shop. So when I bought a miter saw I threw a blanket over it and used it as a work surface since I didn’t have anything else. Well, as you have seen in my recent posts, I have been putting a lot of effort into getting my shop cleaned and organized so that means I want the table gone…..which means I need to first build it’s replacement.
Here is my work area before….keep in mind that I’m just getting started on this back wall so it’s a mess right now, but it won’t be for long.

There are a few places online where you can purchase plans for very cheap. One of my favorites was here. I looked around for a week and found lots of designs but I couldn’t find one that I liked 100%. So instead of buying plans, I decided to modpodge about four different ones together and figure it out as I went…what’s new huh? : ) So if you like mine, then here are the step by step instructions.
Heads-up: This is going to be a long post. There was a lot to this build and I’m going to try and pack as much information in so that if you are trying to build one of these it will go smoother. Well…that’s the hope anyways. If something doesn’t make sense, or you can’t figure out how I got a certain number then use the comment feature at the bottom, or the contact me tab at the top.
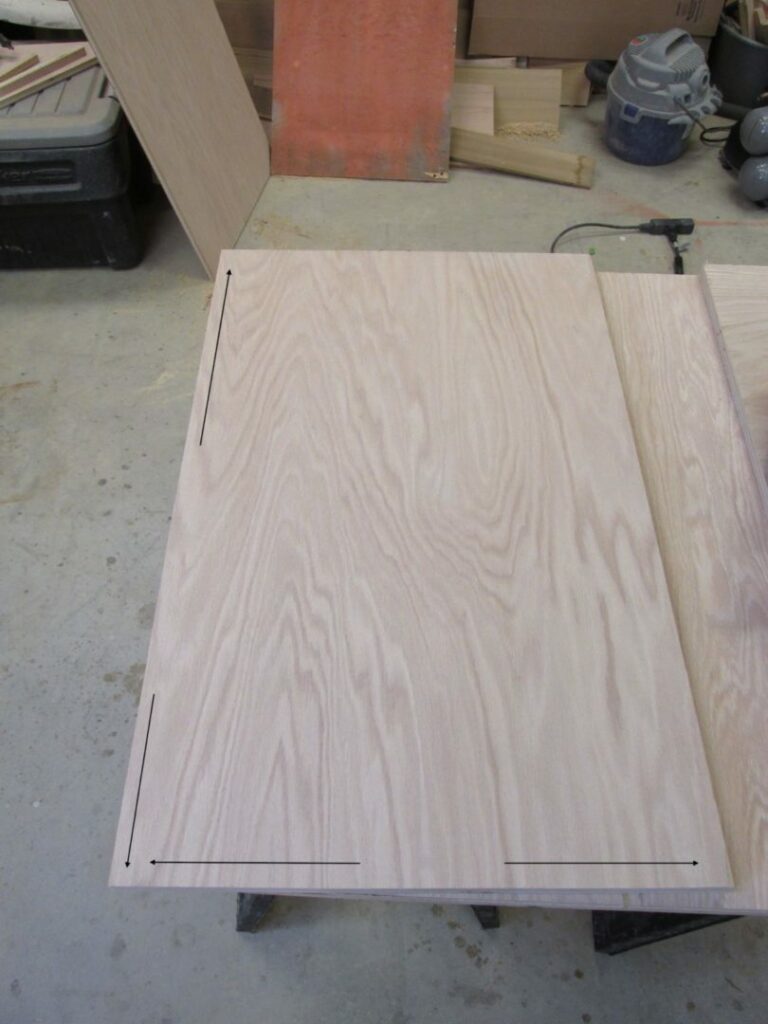
Note: I’m using 3/4″ redoak plywood on this build because I have lots of big scrap pieces hanging around from my past few projects.
1) The first thing I had to do was measure measure measure. I needed to figure out how wide my saw was, how deep, how tall I wanted it off the ground, and also the distance from the base to the deck. Below are my numbers in case you have the same one:
Ground to deck: 33 15/16″
Front to back: 28″
Left to right: 25 1/2″
Base to deck: 3 1/2″
Wood: 11/16″ – it’s important to know the true measurement of your wood.

3) Then I cut the top, bottom, and shelf.


5) The next thing was to attach them. I set my first shelf in place, then came down from there to placed the second one, then just lined up the last shelf flush with the bottom. I used 1 1/4″ Kreg screws to put it together.
Note: I came up with the position of my first shelf based on the height of my saw deck. Take your time to get this shelf perfect because it will determine how level your wings will be with the deck of your saw.
6) Then I flipped it over and screwed in the other side. Make sure you measure this side as well and make it identical to the first side.

7) I rotated the unit around and screwed in the casters
WilkerDon’t: I first placed the casters 1 3/8″ in from the sides because I don’t like the look of them poking out. However, since I bought casters with brakes on them, I need them to poke out so I can get my toe on the lever to engage or disengage the break. So learn from me and just place them on the corners.


WilkerDon’t: Alright, so I put my miter on my stand to make sure nothing was going wrong, and found something small that wasn’t part of the plan. When I rotate my miter I can only go to 48 degrees before the handle runs into the side wall of the frame. : / Ehh. It makes me mad that I overlooked it, but at the end of the day I decided to still move forward because I have never used anything larger than 45 degrees and since I don’t plan on screwing my saw down permanently, if I do want to use a larger degree then I can just move the saw forward slightly to allow it room to rotate. If you want to avoid this collision then just make your shelves an inch or two wider.
Wings:
Instead of making a wing the entire length of the side I made it flush with the fence on my miter saw. Since this fence is what you butt your wood up against to keep it square, any wing past this point would be a waste and just more for your under wing to support.
8) So next I cut a long strip then used four 1 1/4″ screws to attach it in place.


Tip: I bought a 72” piano hinge and just used a hack saw and my vise to cut the different lengths needed; it comes out cheaper this way. If you use all the same dimensions as me then you will need 82.5” of hinge. I had a 13” joint left over from a previous project but if you don’t then you will need to buy a 72” and also a 12”.
11) Now I mounted the wing. This step is a two person job. I put a level on my wing then had Cody come out and position it where it was level and hold it while I crawled under the wing and drilled it in place.

If your wing is slightly under flush with the deck of your saw then this is the step where you can correct that! Put a straight piece of wood on your deck and have some hang over onto the wing then move the hinge up until there isn’t a gap. This will only correct a small difference though because if you raise the hinge up too much then when you close your wing, the end will be sticking up higher than the deck and that creates another problem. To avoid any of this just make sure you mount the hinge correctly on the wing in step 10 and also measured correctly in step 5 when you mounted the first shelf that holds the saw.
Support Wings:
12) . I cut the supports to size, then I drew a line on each end used a straight edge to connect the two, which gave me my diagonal line to cut along.
Tip: You can use a temporary fence even for a diagonal cut like this. (Video tip here)


14) So then I cut another length of piano hinge and screwed it in place on the wing support first then attached the other side to the stand.


Awesome. : ) I love love love it when things work out.
15) Alright, so to create a ‘stop’ so the wing support would position itself in the same place every single time I raised the wing, I cut out the below shape from ¼” wood.

16) Then I positioned the wing support where I thought it would be giving the most support to the wing and used my speed square to figure out what angle it was cocked at. Next I used screws to attach the stop block cutout.
17) Now I just repeated the steps and attached everything on the other side the same exact way and sequence.
So this is it opened….


….: ) And then opened. Just because I literally can’t stop.


19) Then I took the front and back walls and first measured and marked where I wanted to cut, and used a jigsaw to cut it all out.


20) Last thing I did was put pockets in everything and screw it all together.


I might add a fence on both wings so I can include a built in tape measure but I haven’t decided yet. If I add one then I’ll add an update here.
I’m not going to lie and say this was easy because it wasn’t. Everything seems to work in relation to something else so it was complicated figuring it all out and trying to see interferences and consequences of each decision. However, if you don’t have to change the design much and can just follow the steps then this should be a simple build. Again, if you are interested in building one just like mine then check out my set of plans.
If you liked this project and want to stay up to date with what I’m building, then be sure to sign up for my email newsletter and you’ll get an email when I post something new. See you soon!
*Disclosure: Some links in this email are affiliate links meaning, I may get a commission if you make a purchase. Thanks for your support in this way!